CyBar 977090DD – Design & Construction Part 2
Head
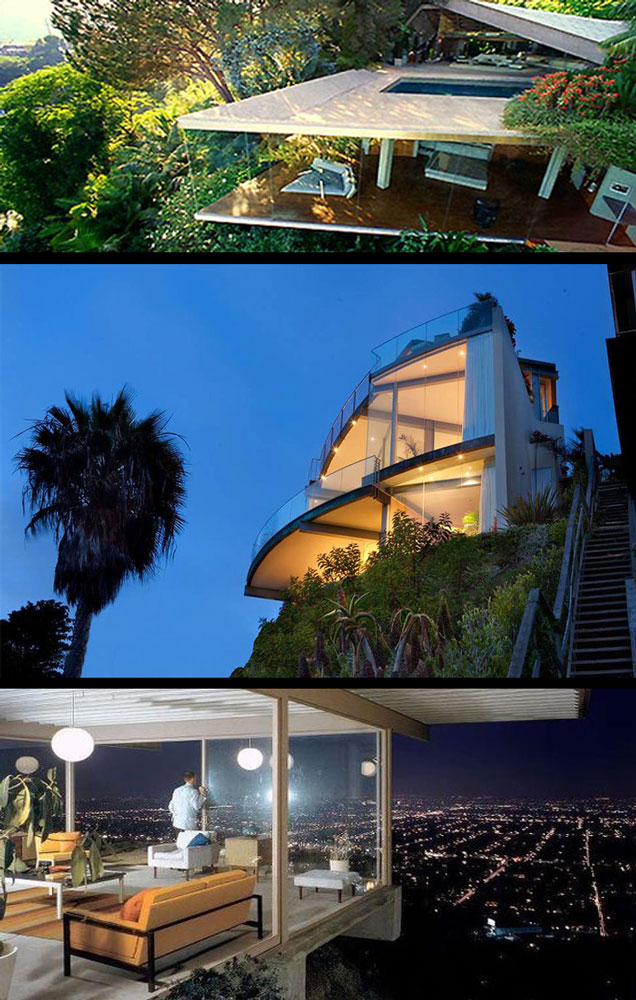
Wanting to continue on the John Lautner style for CyBar, I needed to incorporate the floor to ceiling windows of such houses on the CyBar. While the Lautner residence doesn’t have one of the more distinctive floor to ceiling window views, any concerns regarding what I am talking about can be easily answered by thinking back to Lethal Weapon 2 and the house Riggs heroically pulls off the side of the cliff.
The best place to do this I felt was in the CyBar‘s facial features.
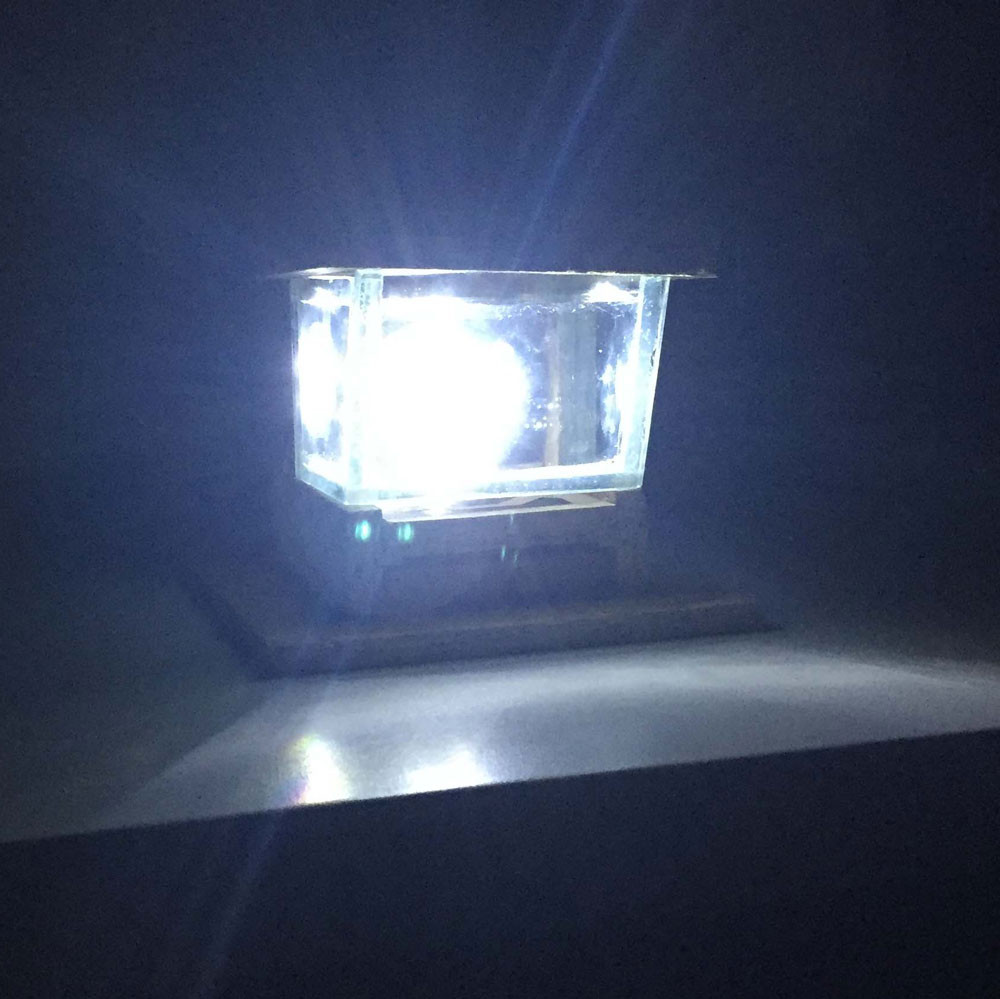
I believed the best option would be a small fish tank which would be the CyBar’s features from the jaw up. Initially I wished to purchase one, but I could not get one the right shape – having a front which slanted forward at an angle.
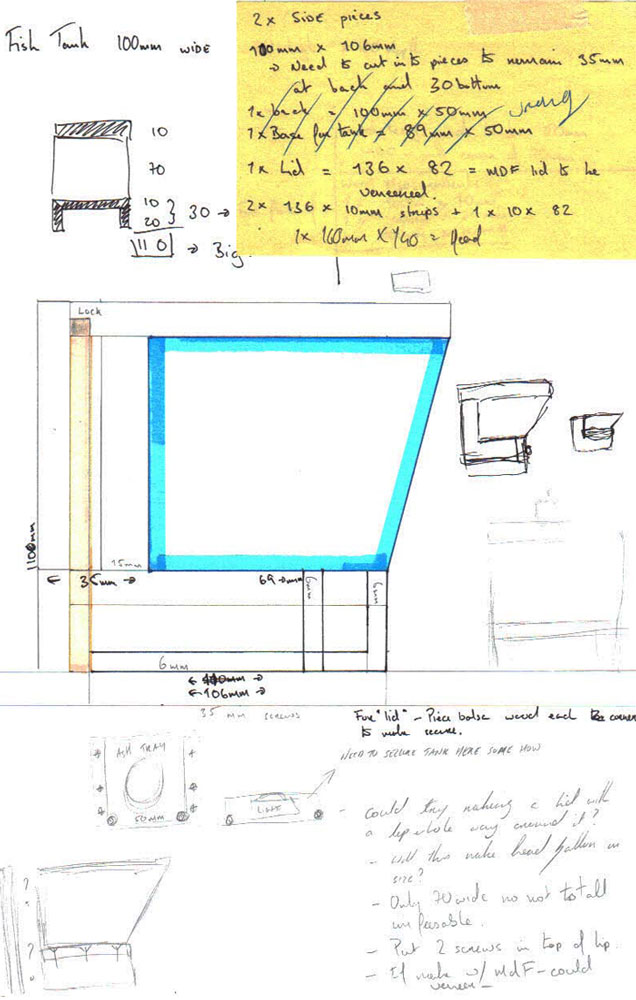
In order to accomplish what I wanted, I sketched out the measurement for the “tank” and acquired five pieces of glass. As the glass sheets were so small, I had to sand the edges myself – should you ever have to do something like this, remember to use an air filtration mask, because I did not and was paranoid I was going to be coughing up blood for days which was not fucking good for my creative process.
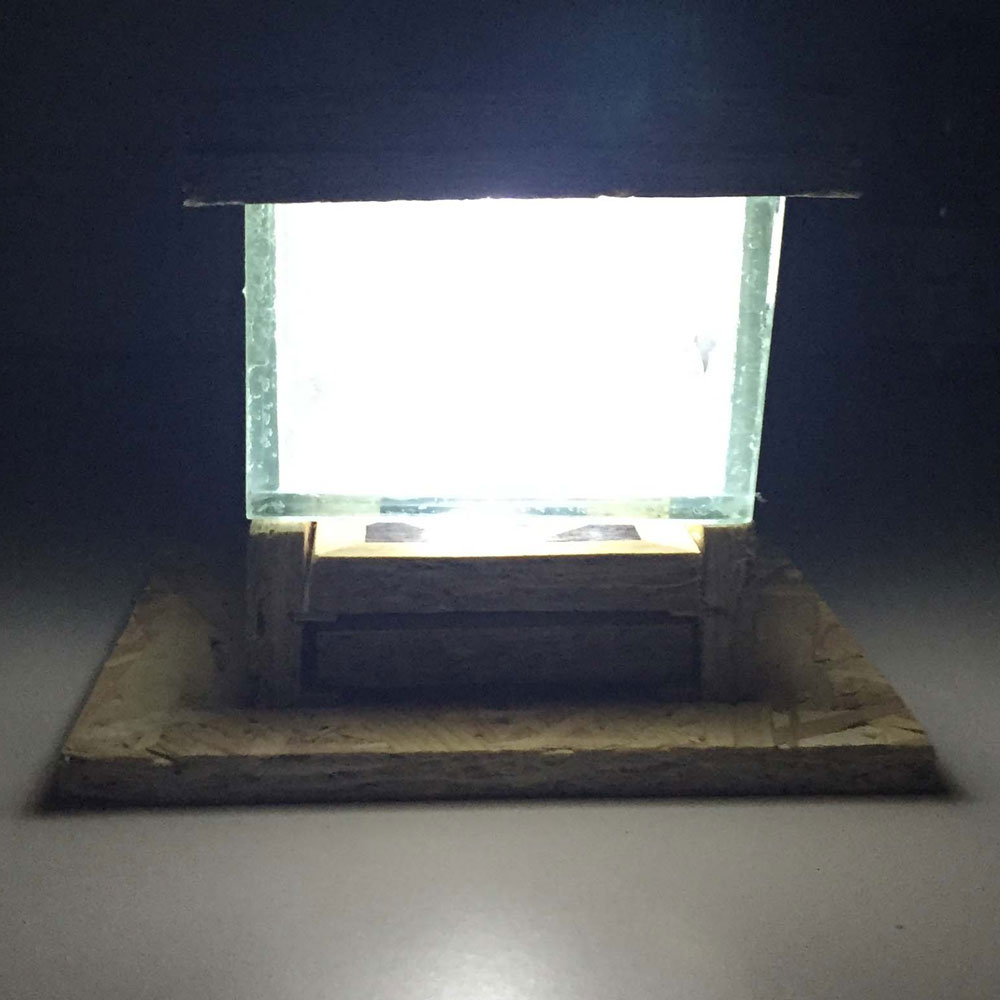
As it would be wholly cruel, if not impossible, to place any real fish in the tiny fish tank, its main function would be as a light. A light placed behind or under the tank would shine through the water strengthening the light.
The tank would sit on an L shaped jaw from which a drawer could be pulled and used as an ashtray. Thus adding another function to the CyBar’s head. After the messy process of sticking the glass together to form the tank, I quickly recognised two things:
- The tank would very easily slide off the jaws. I realised I would have to create a form of “cap” to hold the tank in place – again, generating more and more work.
- The ashtray would not work as the adhesive for the glass was too messy and I ran the risk of creating something which could never be cleaned sufficiently that it did not leave a consistent smell.
Therefore I decided to make the space to hold coasters, like CyBar 845050MC. I would need to replicate the veneer pattern on the coasters before coating in yacht varnish to protect from drink glass condensation.
- The condensation then got me thinking about ice. As the glass tank could not really be that productive when filled with water, why could its function not be an ice cube holder? After testing, I also found the light shone brighter coming through the tank filled with ice as opposed to water. Therefore I thought that the best option would be to turn the tank into an ice bucket.
Arms
Despite there already being the 3 functional items on the CyBar:
- Mini bar chest cabinet
- Coasters in jaw
- Ice bucket face
I felt that the arms needed something too. I needed a secret area as per the CyBar 845050MC. As I had two thicknesses of OSB, I elected to make the arms from the ticker 20mm. Previous CyBars had six elements to their arms:
- shoulder / upper arm / elbow / lower arm / wrist / claw
However, if I was going to place a hidden area in CyBar 97-70-90-DD, the upper arm sections would be the most likely place to utilise. If the upper arm could be hollowed out – making it basically a frame – a mirror could be stemmed from the upper shoulder when raised. This mirror could cover the area removed from the upper arm and if the mirror could be removed easily, it would be easily accessible. This would create an area to place cigarettes/cigarillos/lighters/skins.
The elbow would have to be cut from the upper arm and the lower arm attached here.
To finish with, I used the same claw template for CyBar 286080DD – only a little less elegant…
Door
As previously stated, I wanted to place two swing doors on the chest cavity like a bathroom cabinet. The mirror doors opening outwards would be held on by spring hinges. In my mind, the holder for the hinge would be secured to the interior wall and then the element to allow the door to open could be secured to the back of the glass with adhesive. This had 2 issues, but both of which I thought would get away with:
- The element to attach to the wall had small screws which would not embed that deeply into the interior wall and could come loose
- The main element being heavier would only be stuck onto the silver lining of the mirror and too could become loose.
However, I believed two small spring hinges would support the weight sufficiently and allow the doors to swing. After talking the people at awesome folks at Rich Glass who are constantly helping me out (esp Hazel who is very awesome), they flat out told me this would not work with the mirror so I had to come up with another way to swing the doors.
The next option was hinges which swung from a cavity that the glass slid into. Attached at top and bottom, the doors then pivot on elements coming from the rectangle mirror holders when placed in the cavities. These hinges were the best option as they were simple, elegant but most of all had the best chance of working.
The issue then became finding a way for them to work.
I knew I needed an element – a “bar” of OSB – across the top of the chest and the bottom for which the doors could stand / swing open on. Knowing it needed to be thicker than the 11cm walls of the CyBar head and chest to hold the mirror, it was cut down for me to approx. 15mm from the larger 20mm OSB. The cavities which allowed the hinges to swing had an 8mm circumference which meant there was very little room for error when drilling into either side of both OSB bars across the top and bottom of the chest. The first few attempts at drilling the required holes resulted in busting out the area on the OSB due to the texture of the wood. After finally successfully drilling the right size holes and placing the required elements in them, I felt I could finally attach the OSB bars to the CyBar’s chest.
- Every other time I was sure I could secure elements of the CyBar with brass screws, I used glue also…for some reason, placing both bars on the CyBar, I decided not to on this occasion…and I am so glad I did not because can you believe it, I fucked it up.
The bars at 15mm were too thin. Not because of weight, but because the hinges did not have enough room to turn and they hit the side wall of the CyBar’s chest and the door could not open. I had to go back to square one using the 20mm OSB to create 2 more bars. As I had glued in the hinges into the holes drilled, I need a whole new set of door hinges.
I began again, having to cut more OSB bars ensuring a straight line and then drilling in correctly again. Again there were issues when the OSB became loose around the drilling hole and became too big to hold the hinge element.
I was finally successful and tested the doors theory using 6mm MDF as opposed to mirror. The hinge on the left opened with a slight amount of friction, which was actually a good thing as it would stop people opening and closing the door too fast. The right side however, did not work at all as the hinge moving was blocked by the CyBar’s wrist. Unless the wrist was to be removed or the arm adjusted causing possibly irreparable harm to the exterior, a mirror was not going to swing from the right side of the CyBar.
What to do?
Both bars had two holes for the hinges, not using one means it would be visible and ugly. I could start cutting out the bars again, but the ones I had created were as good as I was going to get. Therefore, instead of taking them away, I decided to add to them. I placed a layer of the same veneer as used on the floor of the chest cavity across both bar covering both holes. I then cut into the veneer on the left side removing the veneer over the hole to place the hinges and I would use one piece of mirror for the door, not two.
- This may actually work to my advantage as there will be less gaps making the CyBar more flush with less gaps of light.
- Reading this now, it has only just occurred to me that one of the best things to do would have been to add an addition 2 to 4 mm to the support bars, but reduce / dip the height of the same amount to sit the hinges into. This would bring up the support hinges to lie just underneath the door when closed making it more neat.
- When doing the product shots for the CyBar, my friend photographer Brian O hÉideáin from http://www.oneeyeopen.ie/ told me that he liked the gaps between the mirror door and support bars as they allowed light from the interior disco ball light to escape giving it more atmosphere. Some things work themselves out in the end I guess.
- Reading this now, it has only just occurred to me that one of the best things to do would have been to add an addition 2 to 4 mm to the support bars, but reduce / dip the height of the same amount to sit the hinges into. This would bring up the support hinges to lie just underneath the door when closed making it more neat.
Base
Finally something easy, something that I couldn’t fuck up to badly…and I didn’t. I measured a piece of the larger, thick OSB on which the CyBar could stand. I then cut out four pieces to create a frame around the piece and then a lid for the frame. The idea will be to secure the piece of solid OSB to an area, attach the frame to the feel of the CyBar and place on the secured piece and photograph.
