CyBar 286080DD Part 2…Construction
I knew I had definitive areas to construct in order to create the CyBar.
- A chest area to house the minibar
- A head area for the lamp
However, I would also obviously have to create legs for the CyBar to stand on and arms to complete the figure. However, these two elements would obviously come far easier than the chest or head particularly after having gained further knowledge while working on the chest and head.
I felt the best place to begin was the legs of the CyBar.
Legs
I decided to build from the bottom up.
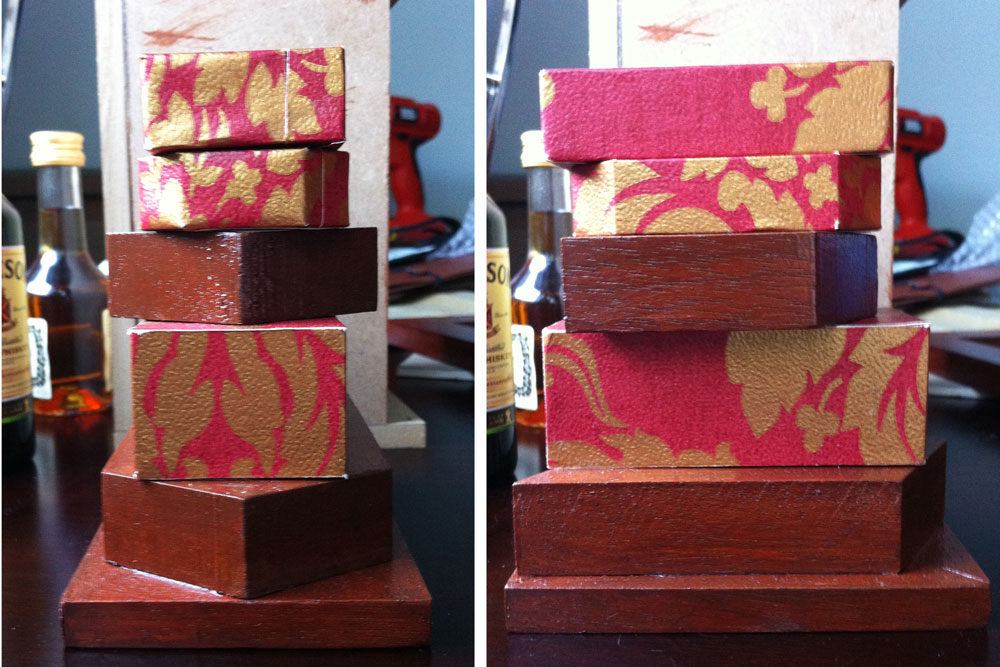
To create the legs, I used a mixture of varnished mahogany and mahogany covered in wallpaper, which were stacked. I was attending a woodworking night class at the time so I was able to use the guillotine available to stylise the blocks by cutting angles into them.
After polishing the mahogany with sandpaper and covering with varnish or wallpaper, I could secure the stacked pieces by drilling a hole through the pieces and slotting in a 6mm dowel. I left approx. 15mm of dowel out of the top of the stacked feet which meant that I could then drill two holes in the base of the chest and they could secure the chest to the feet.
Chest
I knew the chest should be easy enough. A simple box area needed to be created which I could line with a veneer floor and mirrored ceiling and back wall. I thought about putting something on the interior side wall but ended up going with a mahogany stain on the interior instead.
I thought about using real mahogany with dove tail joints…however, after seeing the standard of my joint work from a woodworking class I took, I knew it would not be good enough for what I wanted to create.
I knew that going for something like dovetail or finger joints, there would be approximately 60 required. I knew that I wasn’t strong enough at woodwork yet. Looking back, I am very happy I came to this realisation because I know of myself, that if I tried to cut 60 dovetail joints which would have been at a very low standard, I would have been very disappointed in ability and may have just quit then and there, abandoning the project out of frustration.
While the alternative was easier, the structure is still solid and looks aesthetically pleasing too.
So…”Better done than perfect” as Mr Ji Lee would say…
I knew the first CyBar at least had to look good, even if it was just made from MDF and veneered, so that is what I did. However, I had a plate of mahogany I could use for the front of the CyBar’s chest at least. Precisely measuring, I hand cut 9mm MDF to create a box shape 140mm wdt x 160mm ht x 110dpt. I intended to attach the pieces using glue and brass screws. I made concaves so the brass screw tops would sink fully into the MDF and the veneer placed over it would be smooth.
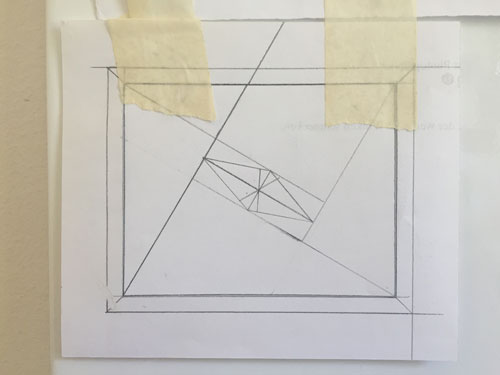
The draw of the CyBar would lie in the interior. With mirrored back wall and ceiling, I needed a good veneer pattern for the floor. After searching out some, I tried to create my own, which admittedly is not too overwhelming…in fact, one could probably describe it as “shite”…
After creating the veneer, I attached to the base of the chest and moved onto the other MDF walls for internal decoration. After ordering mirror from a local glazers – Rich Glass in Sallynoggin have helped me out with my very strange requests for very minor pieces of glass and are absolutely great (esp Hazel who has always been very patient with me) – I glued to the mirrors to the back wall and the ceiling. I decorated and varnished the interior side walls mahogany and was almost ready to go…however, an issue arose as I wanted to have a small light on the interior of the chest area and the power source for that light would come from the head. Therefore, a hole had to be created to
run the cable through the mirror lining the ceiling. Contrary to my initial panic, it was easily rectified by the glaziers and was set to go.
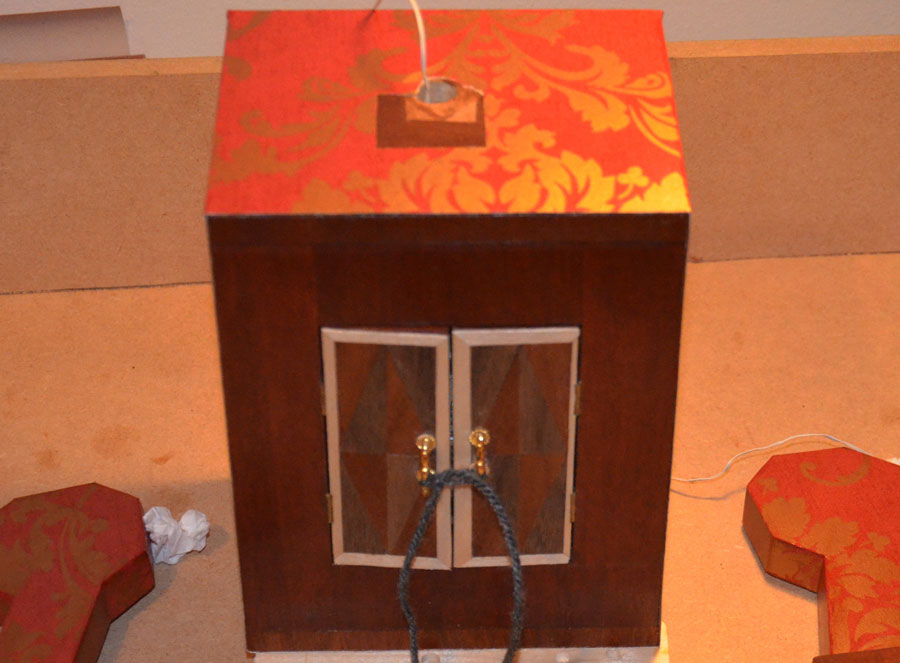
The plate of mahogany I had gotten was then cut on a table saw so a central piece was removed.
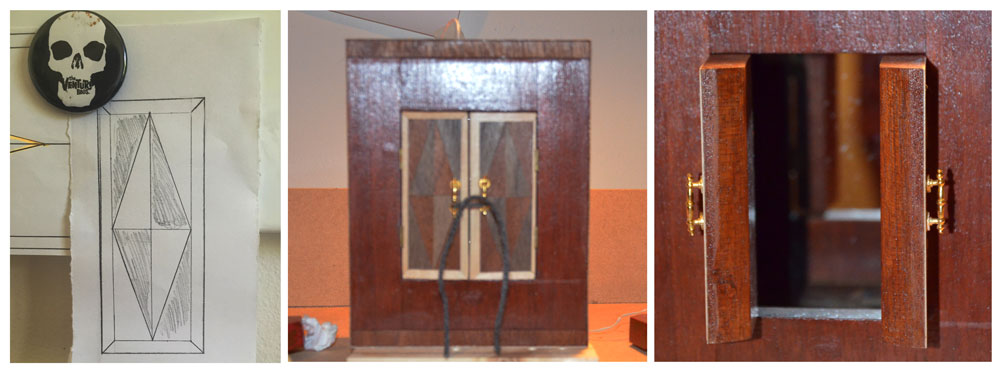
- This piece would then be cut in half to create to doors and the remaining pieces glued back together to create a frame for them to hang from.
- I knew the doors needed to swing open, it seemed more impressive. In order to do so I had to get tiny dolls house hinges which at only 12mm by 5mm I found out were extremely tedious to apply on both the doors and door frame.
- The doors needed to then be decorated so I created a new veneer pattern which I stuck to the doors before attaching two dolls house miniature handles.
With the chest cavity interior completed, I assembled the chest cavity to prepare for external decoration including the mahogany doors and frame.
After veneering the exterior of the chest cavity, I sanded and then applied the wallpaper leaving me with the below.
This was probably the worst way to go in the process of constructing the CyBar…if there were any mistakes made from the point which impacted the interior of the chest cavity, they would be very difficult to rectify …and those mistakes I did make, many of which did impact the interior of the chest cavity, which were very difficult to rectify.
The first fuck up came attaching the legs to the base of the chest. I had reduced the dowel length coming from the legs. I had made the required holes in the base under the veneer, but when I clamped the chest legs, the dowels went through the veneer on the floor of the chest cavity and broke apart the veneer floor. As I could not remove any of the walls from the chest to rectify this, I was pretty fucked.
- This was a harsh lesson I learnt early, always ensure the legs are firmly attached to the CyBar’s base before adding veneer flooring and the chest cavity around the floor.
With no way to repair the flooring, I had to construct another. I wasn’t so frustrated or disheartened when I figured out I could build a raised plywood frame the diameters of the floor. I created a new, better veneer pattern which could then be slotted through the door frame.
With the chest and legs complete, I could move onto the head.
Head
My thought for 286080DD was that it would be lit up so people could see it from a good distance. Initially I wanted it to be lit from behind, but then if I could find a strong enough light for the lamp, this would be better and so I bought the strongest, portable LED light I could afford off eBay. I could then sculpt the head around the shape of the light.
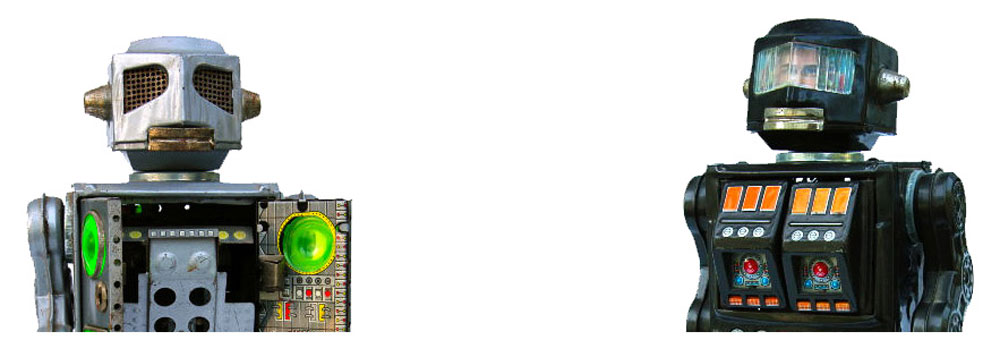
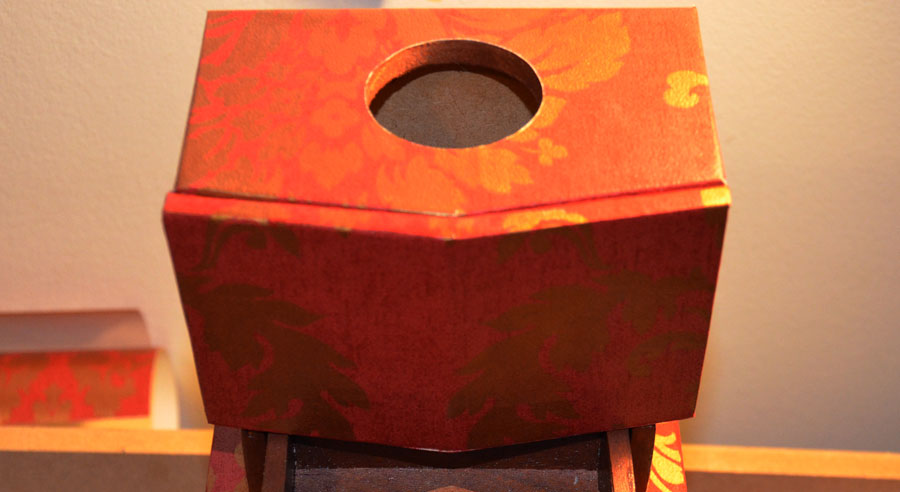
I began creating the top of the head. I had seen vintage robots with slanted facial features while still maintaining their classical look. I decided I wanted to try this to give the CyBar a little extra personality.
I got 6mm MDF and cut out the side walls and back. I then cut the tips of the walls at an angle so two further pieces of MDF could come from these angles to create a point or arrow head. I made the two pieces slightly taller than the walls or back. The reason being was that I knew I would have to add a lid or “cap” to the head section so the separate light elements could be accessed to be re-charged or replaced if required. I knew the face of the CyBar would be better if the façade was full, as opposed to been broken by the cap being visible in the face of the CyBar.
I firmed the structure together after ensuring that the lamp light and the battery pack fit into the space. I was then able to use the structure as a template to measure and cut out a base and a cap for the head.
After all elements had been secured together, I could then veneer and wallpaper the head. Upon completion of this, I then cut a hole in the cap through which the light could protrude.
After much deliberation and review, I could see that the size of casing needed for the light made the CyBar look like they had a shrunken head. In order combat this, I decided to create a “jaw” for the CyBar…I just wasn’t sure what it should actually be.
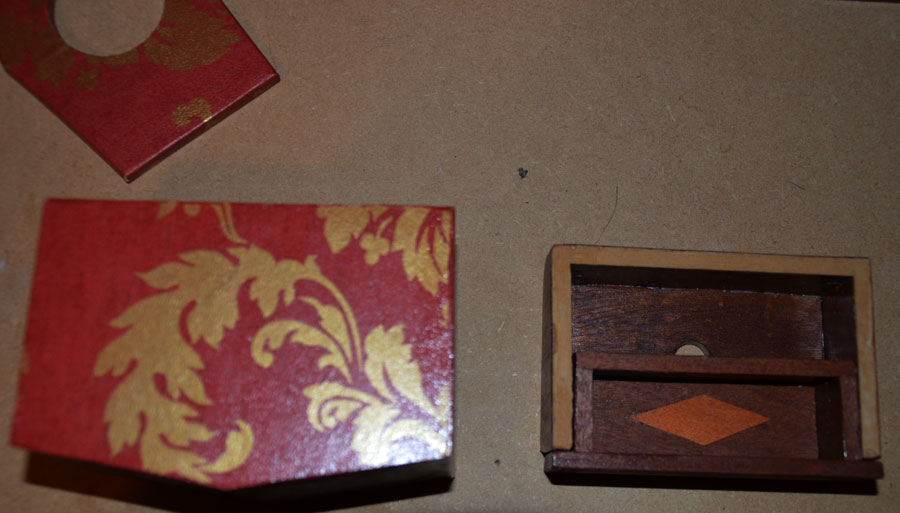
I finally decided that if I could raise the upper head are on three sides – left, right and back – I could place a small drawer for holding items like cigarillos or a lighter or cigarette papers. I constructed the jaw area from 6mm MDF on which I placed mahogany veneer. I constructed the drawer out of balsa wood as the 6mm MDF was too heavy and the drawer stuck too often. The balsa wood once veneered worked perfectly. I made the drawer only half the depth of the jaw to hide the battery to power the miniature light for the drinks cabinet area.
Making the drawer only half the depth of the “jaw” meant that I could put the power source for the interior light behind the drawer keeping it safe. The drawer could be removed to replace the light battery when required.
After decorating the front of the drawer with a simple veneer pattern and adding a miniature door knocker as a handle to pull out the drawer, I was ready to stack them up to see if they worked well.
I was in trouble trying to secure the head and jaw. Glue would be insufficient to hold the two parts to the top of the chest securely. A strong fart in the wrong direction could knock them off.
The only option I could see was to run 6mm dowels through the top of head and through the corners of the jaw and into the top of the chest cavity. This would all be drill work that would be required. But, on the underside of the top of the chest cavity was a mirror. So if I drilled too deep through the 9mm MDF and hit the mirror, I could shatter it and as the chest cavity was enclosed there would be no way to replace it.
However, it was the only option.
I measured the head and jaw elements and drilled holes in both to run the dowel through securing them. After this, I then had to measure where the dowels would come out of the jaw and then drill into the 9mm MDF in these two places. Holding my breath, I was extremely careful and got extremely lucky as the drill didn’t go the full way through and I was able to place the dowels to secure both elements without any issues.
Arms
The final item to be placed on the CyBar were its arms. The arms were cobbled together from pine wood and mahogany. I cut 2 mahogany wedges on the guillotine in order to ensure the CyBar’s arms were at different angles, to make it look like it was possible of movement or gesturing.
The upper and lower arms were pieces of pine wood I cut out and then covered in the wallpaper.
The arms or claws I was most proud of, as they looked well and were incredibly simple to create. Using a tool for cutting holes in plaster ceilings, I cut out three sizes of pine discs approx. 6mm thick. I layered the smallest of these very simply and then the largest as adapted into a claw after cutting a straight line from the small hole in the centre of the disc.
All the discs could then be stick to a 6mm dowel and inserted into the CyBar’s wrist.
It was perfect.
The CyBar had come together very nicely. I added some final decoration of some coving around the façade of the chest area and placed the CyBar on a small mount he would need for the next part of the plan.
…so we moved onto Part 3…Placement
